Home office installation is the process of measuring, supplying and fitting a workspace so the desk, storage, power and lighting work together. A smooth installation begins before the furniture arrives: confirm the room dimensions, wall construction, equipment, cable routes and access path, then agree who is responsible for each trade and finish.
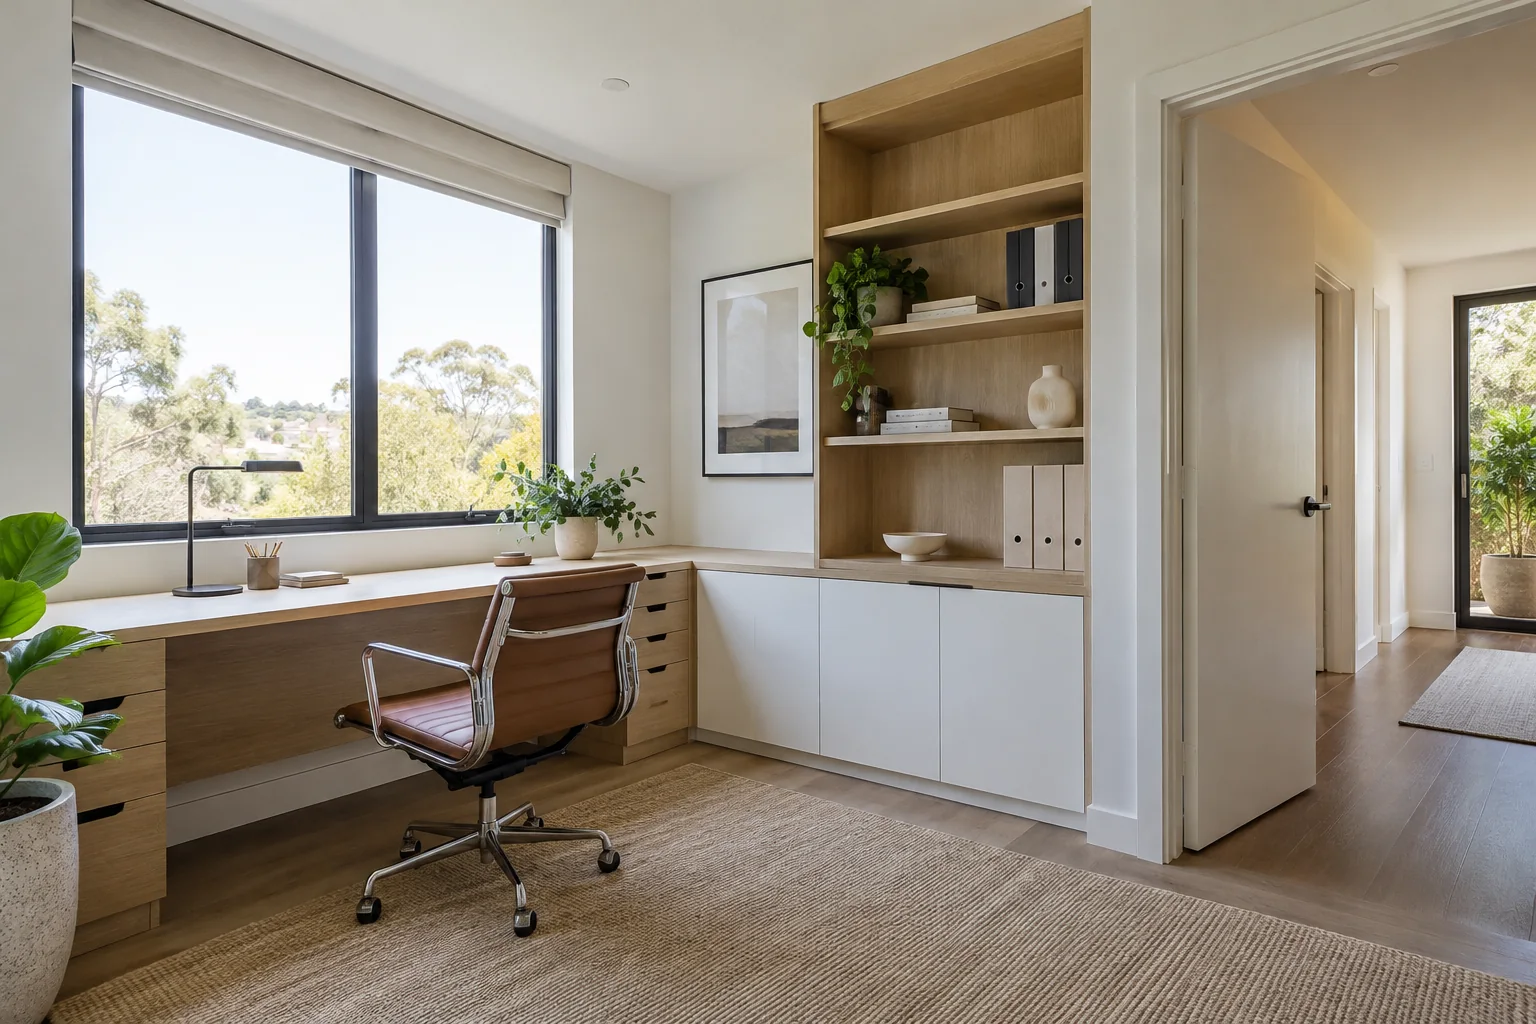
Write down the deliverables: freestanding desk assembly, built-in desk, shelving, cabinetry, cable management, lighting, power outlets, data connection, wall repair and waste removal. Confirm whether the supplier measures the room, who approves drawings and who coordinates other trades. A quote that says “installation included” may not include electrical work, wall painting or removal of existing furniture.
Provide the installer with equipment dimensions and model numbers. Monitor arms, docking stations, printers and adjustable desks can affect space and cable needs. Confirm the monitor position, chair movement and storage doors in the drawing. If the room is also a bedroom or living room, show the furniture that must remain.
Do not drill into an unknown wall. If drawings, service scans or wall construction are uncertain, arrange assessment before work begins. Use qualified trades for regulated electrical, data or building work as required in the state or territory.
Built-in work generally needs a clear sequence: room preparation, any electrical or data rough-in, cabinetry installation, connection and final adjustment. Exact order depends on the products and project. Confirm whether the desktop is installed before or after wall finishes and how cables pass behind the joinery. Keep a written list of assumptions so late changes do not create gaps or exposed cables.
| Stage | Confirm | Evidence to keep |
|---|---|---|
| Design approval | Dimensions, layout, finish and included scope | Signed or approved drawing and quote |
| Site preparation | Access, wall, services and room readiness | Measurements and service notes |
| Installation | Fixings, levelling, door operation and cable route | Installer checklist and product manuals |
| Handover | Care, adjustments, defects and warranty contact | Photos, receipts and care instructions |
After installation, check that drawers and doors open fully, shelves are level, the desk is stable and cables do not cross the chair route. Test power and data points with the installer. Confirm any agreed wall finish or patching has been completed and collect the care documents. Photograph concealed service locations before shelves or panels are closed if the installer permits.
Use Safe Work Australia’s working-from-home workstation guide to review the finished setup for the individual and type of work. Browse furniture material options early enough to compare samples before installation day.
Scope varies by supplier. It may include furniture assembly or built-in joinery fitting, but often excludes electrical work, data cabling, wall repair, painting and removal of old furniture. Ask for an itemised quote and confirm who coordinates each trade before booking.
Furniture assembly alone may not need electrical work, but adding or moving fixed power outlets or wiring generally requires an appropriately licensed professional under local rules. Confirm the requirement with the relevant state or territory regulator and use a qualified electrician where required.
Confirm the final drawing, clear the access path, protect items, and make the room available. Mark the agreed service and fixing locations, and tell the installer about hidden pipes, cables or wall conditions. Follow the supplier’s preparation instructions rather than improvising site work.
Home office installation is easier when the scope, dimensions and trade responsibilities are clear before the first fixing. Approve the drawing, prepare the room and check the final operation at handover. Keep manuals and service locations so the workspace can be adjusted or repaired later.
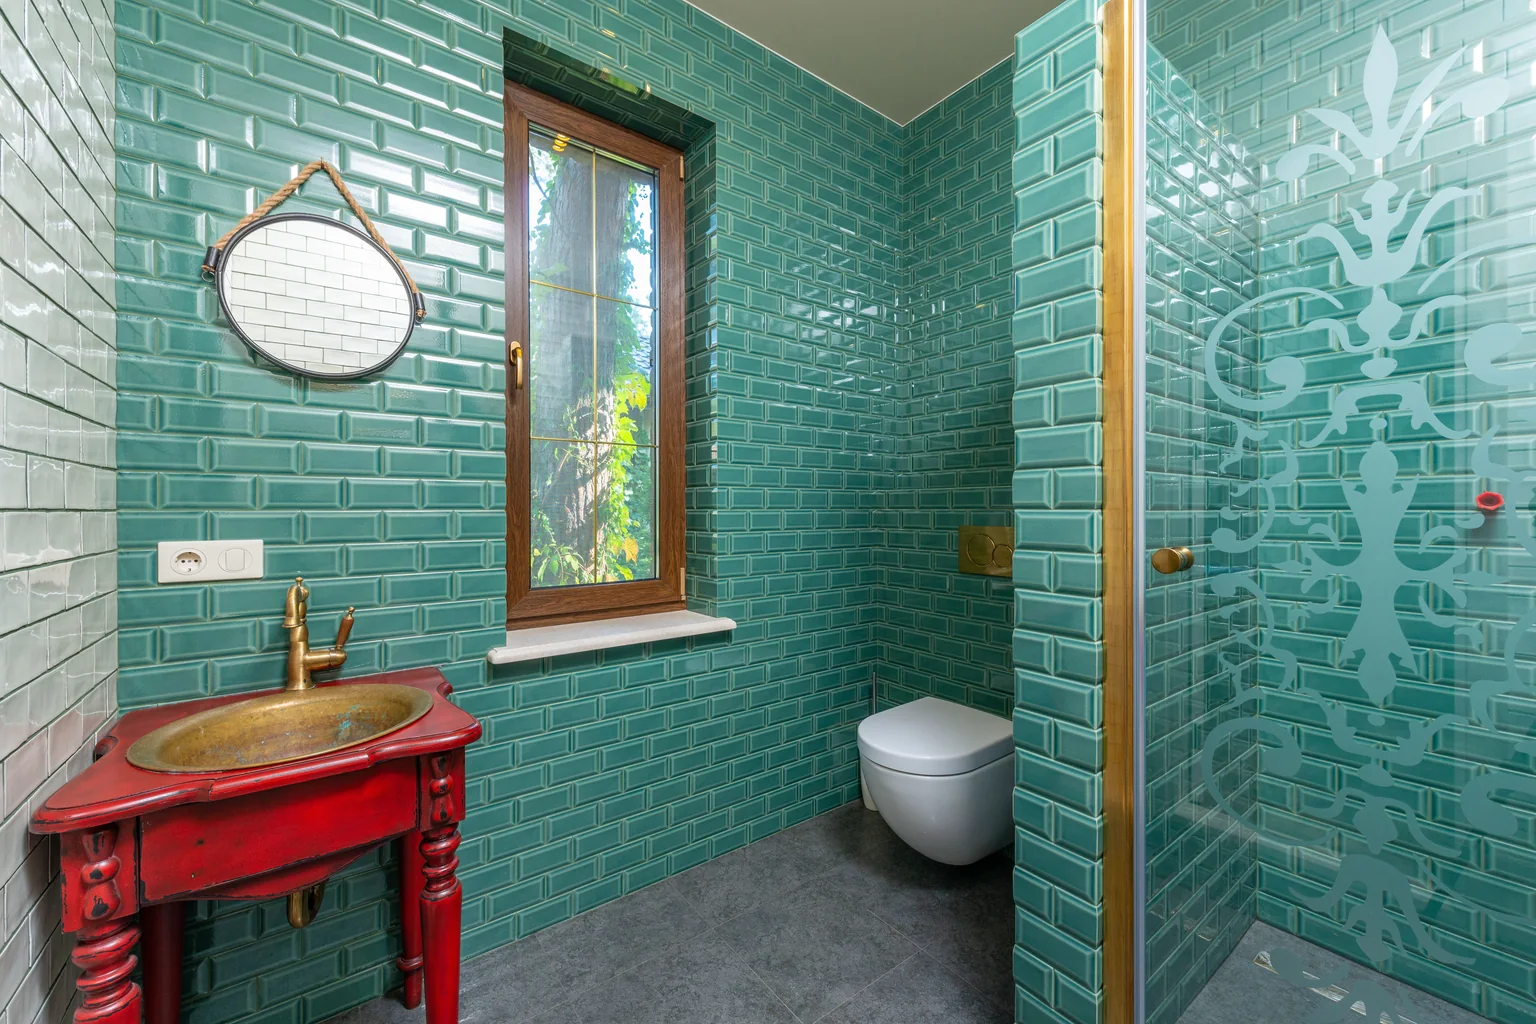
Choose bathroom wall tiles by comparing wet-area zones, materials, tile size, grout, waterproofing coordination, installation details and maintenance.
2026-08-27
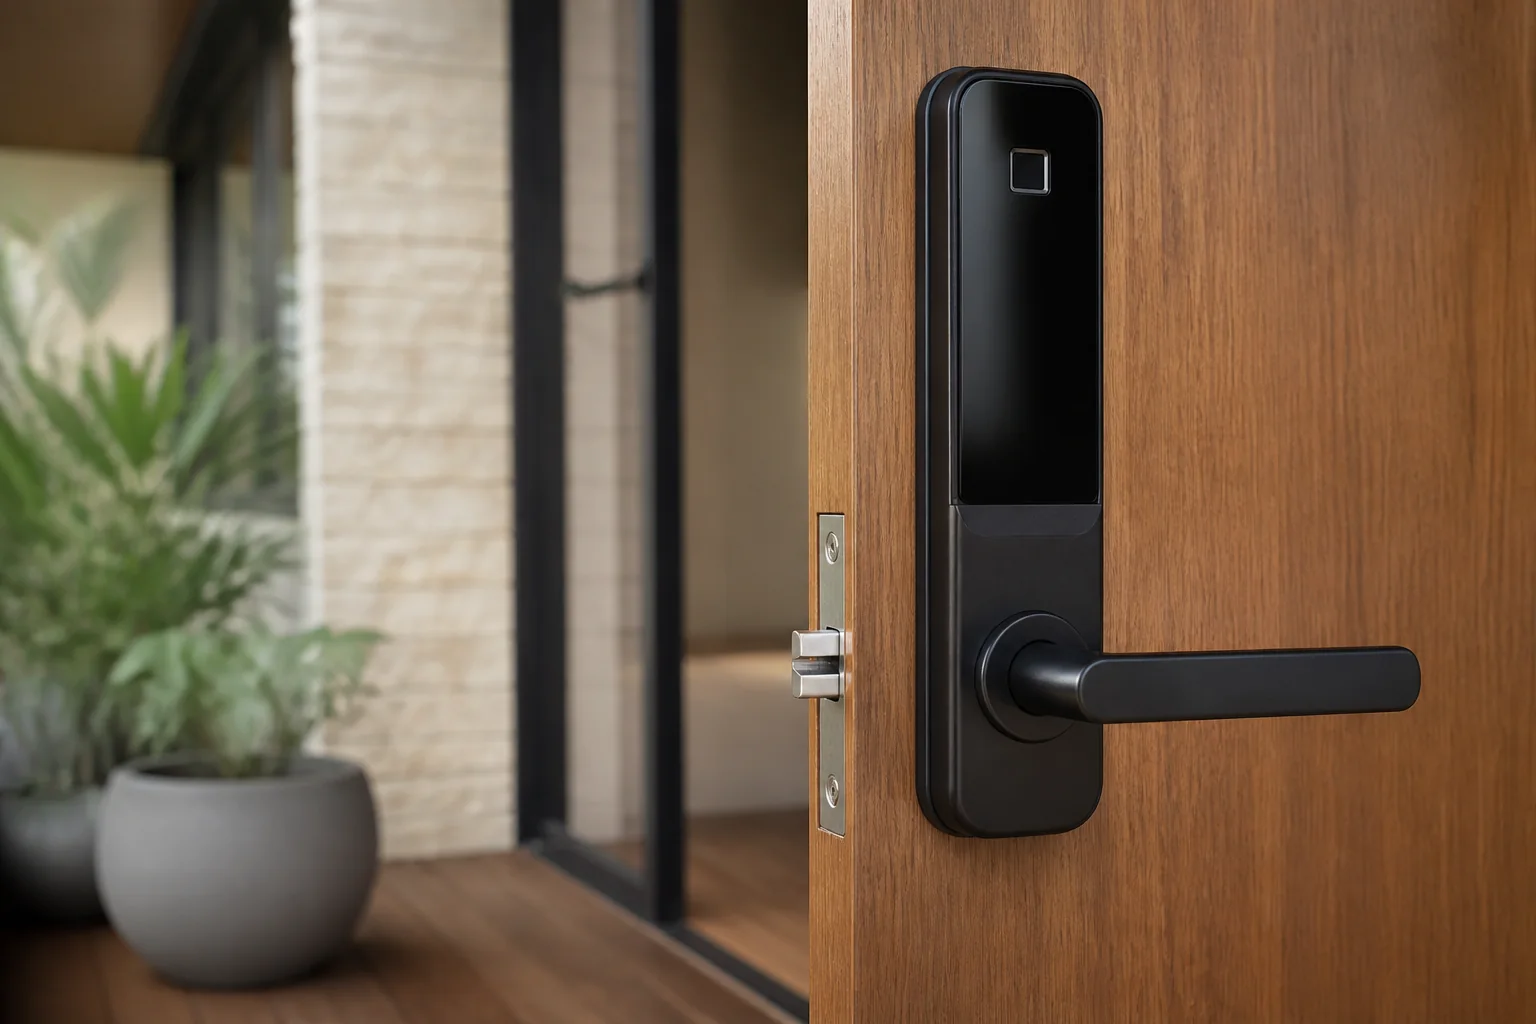
Choose a digital door lock by checking door construction, mortice, dimensions, access methods, batteries, emergency entry, app security and installation.
2026-09-02
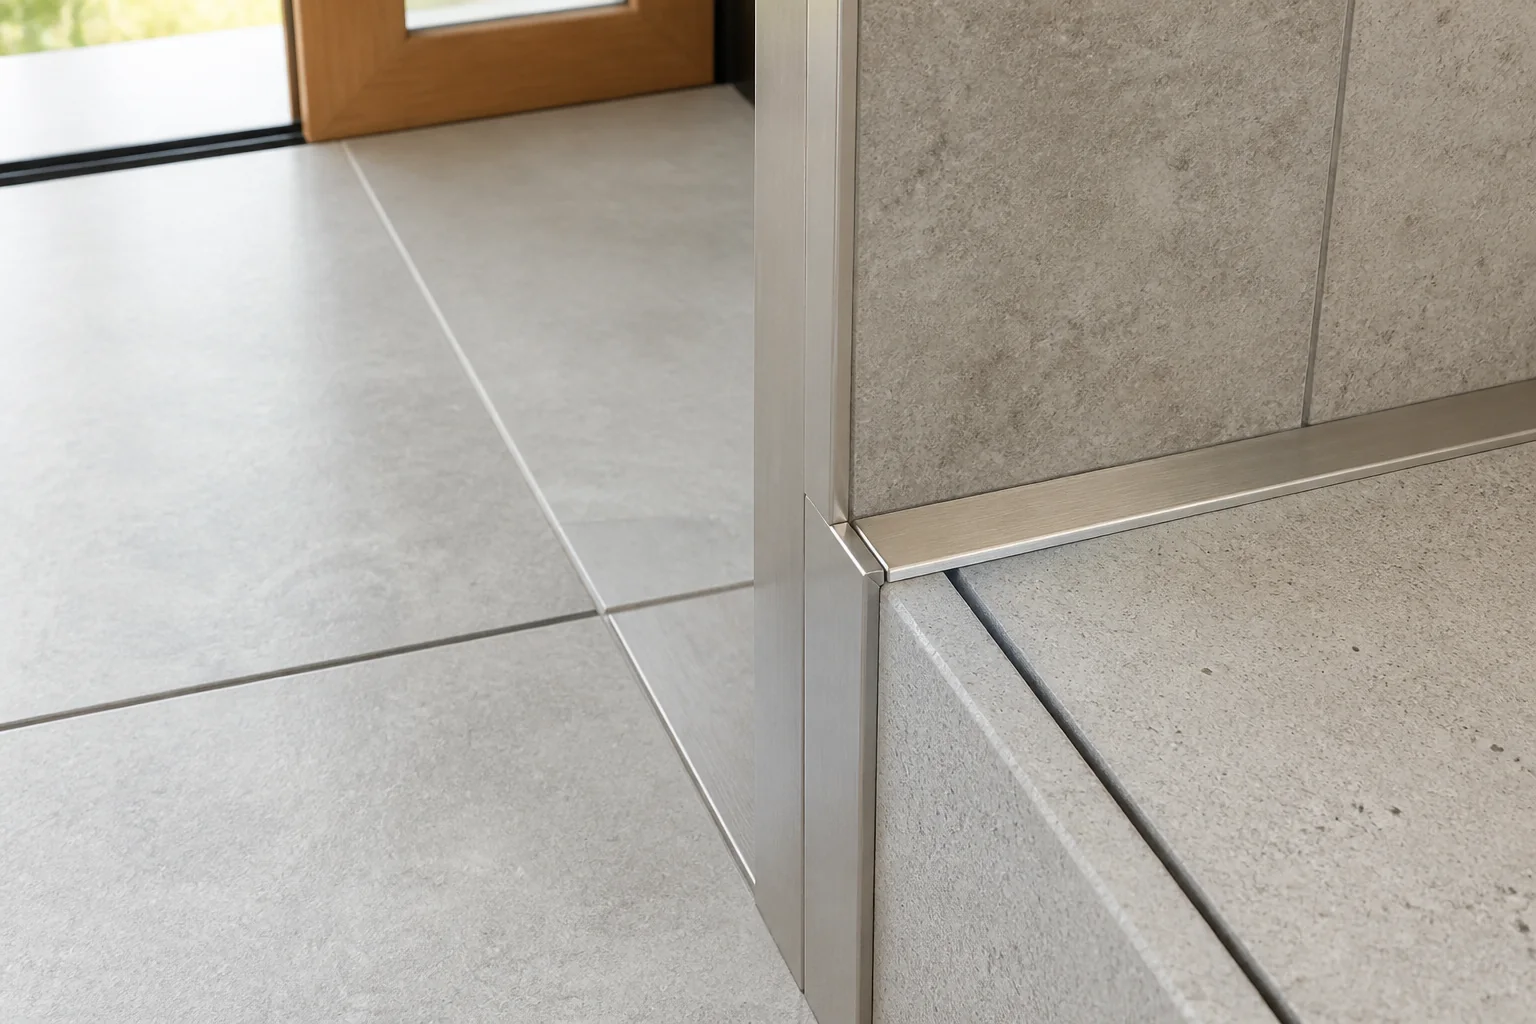
Choose tile grout and trim with the joint width, movement, corners, transitions, cleaning method and replacement plan already documented.
2026-09-06
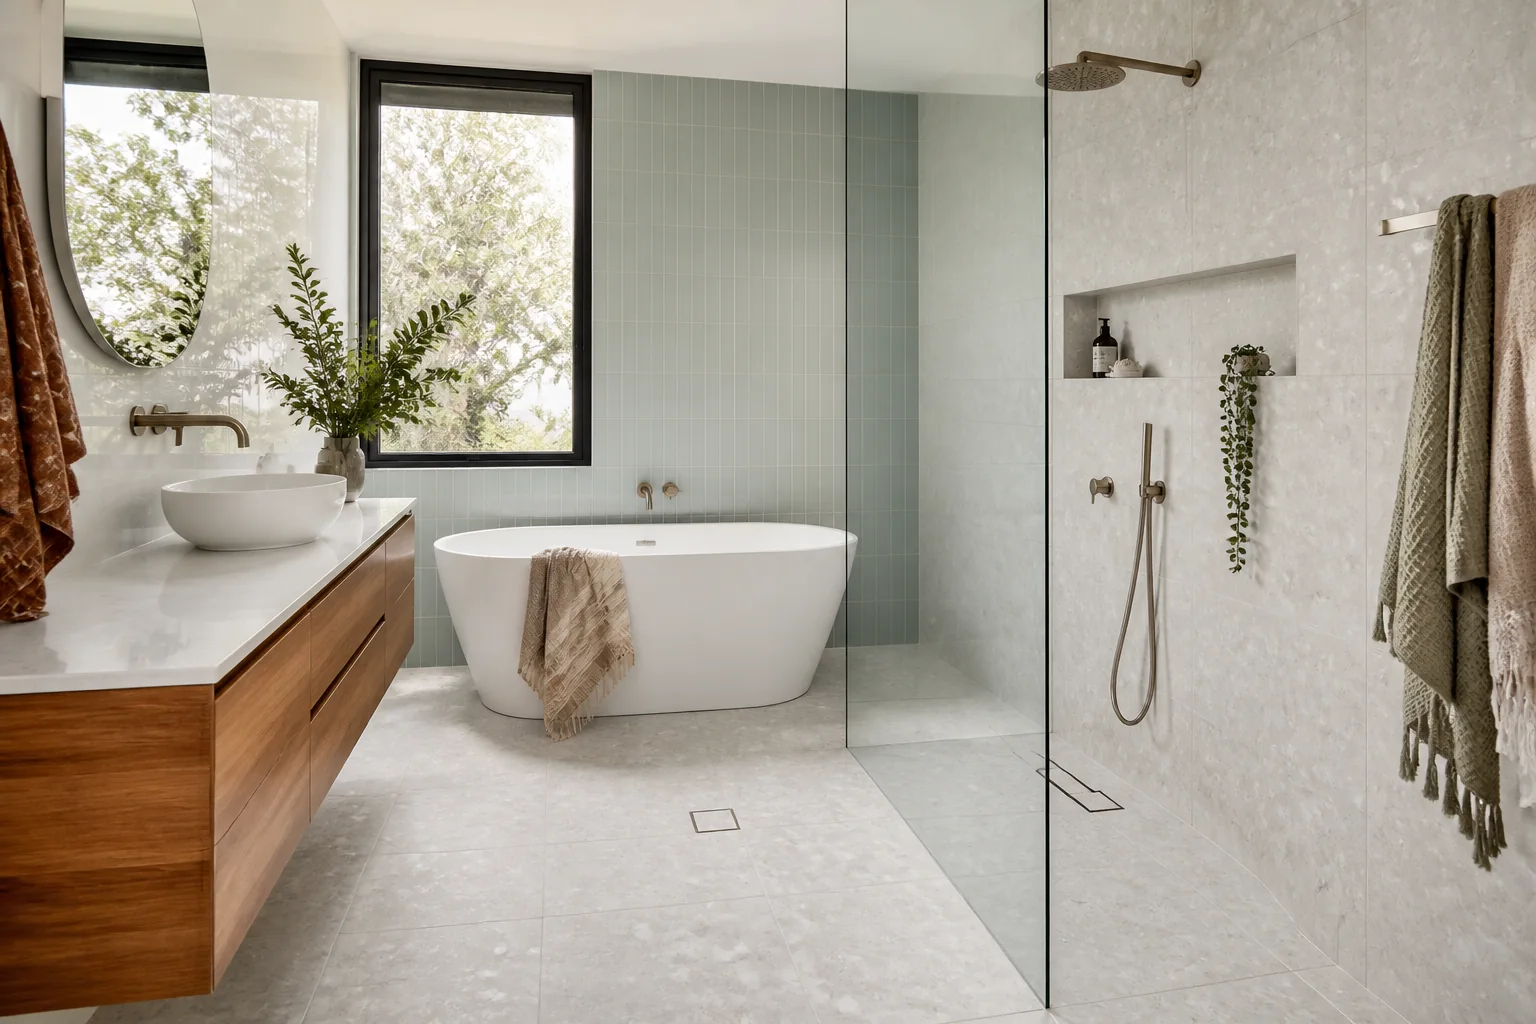
Evaluate bathroom tiles patterns, colours and design guide for Australian projects by checking intended use, product evidence, dimensions, installation, maint.
2026-09-10
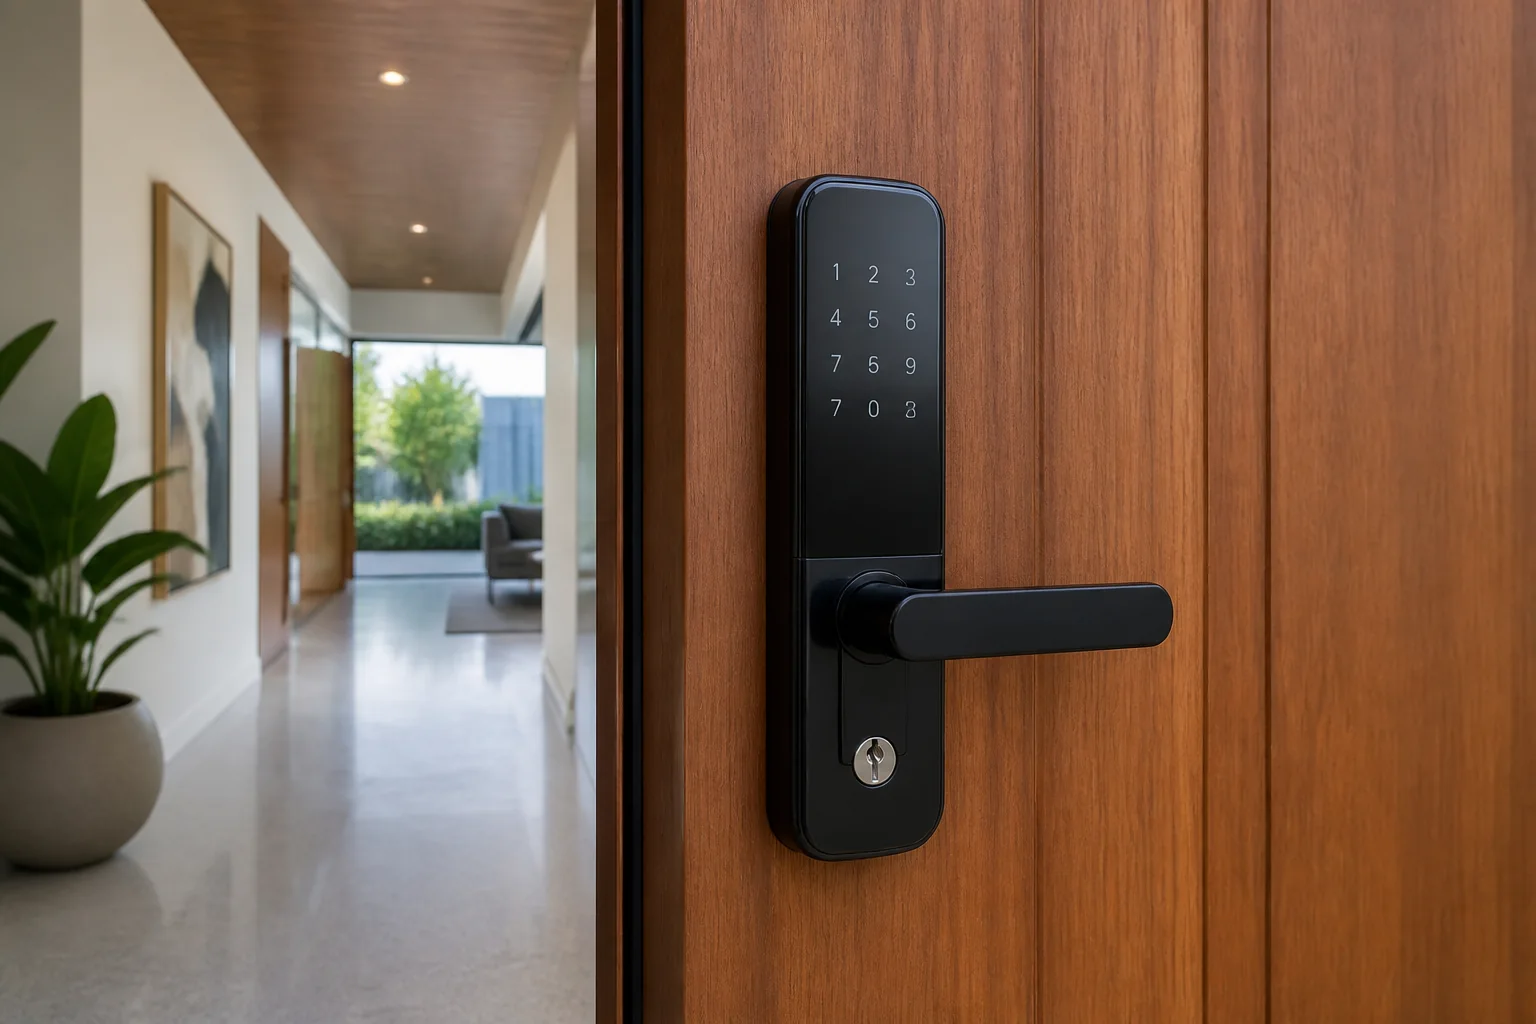
Evaluate digital door locks and access hardware prices and buying guide for Australian projects by checking intended use, product evidence, dimensions, instal.
2026-09-14
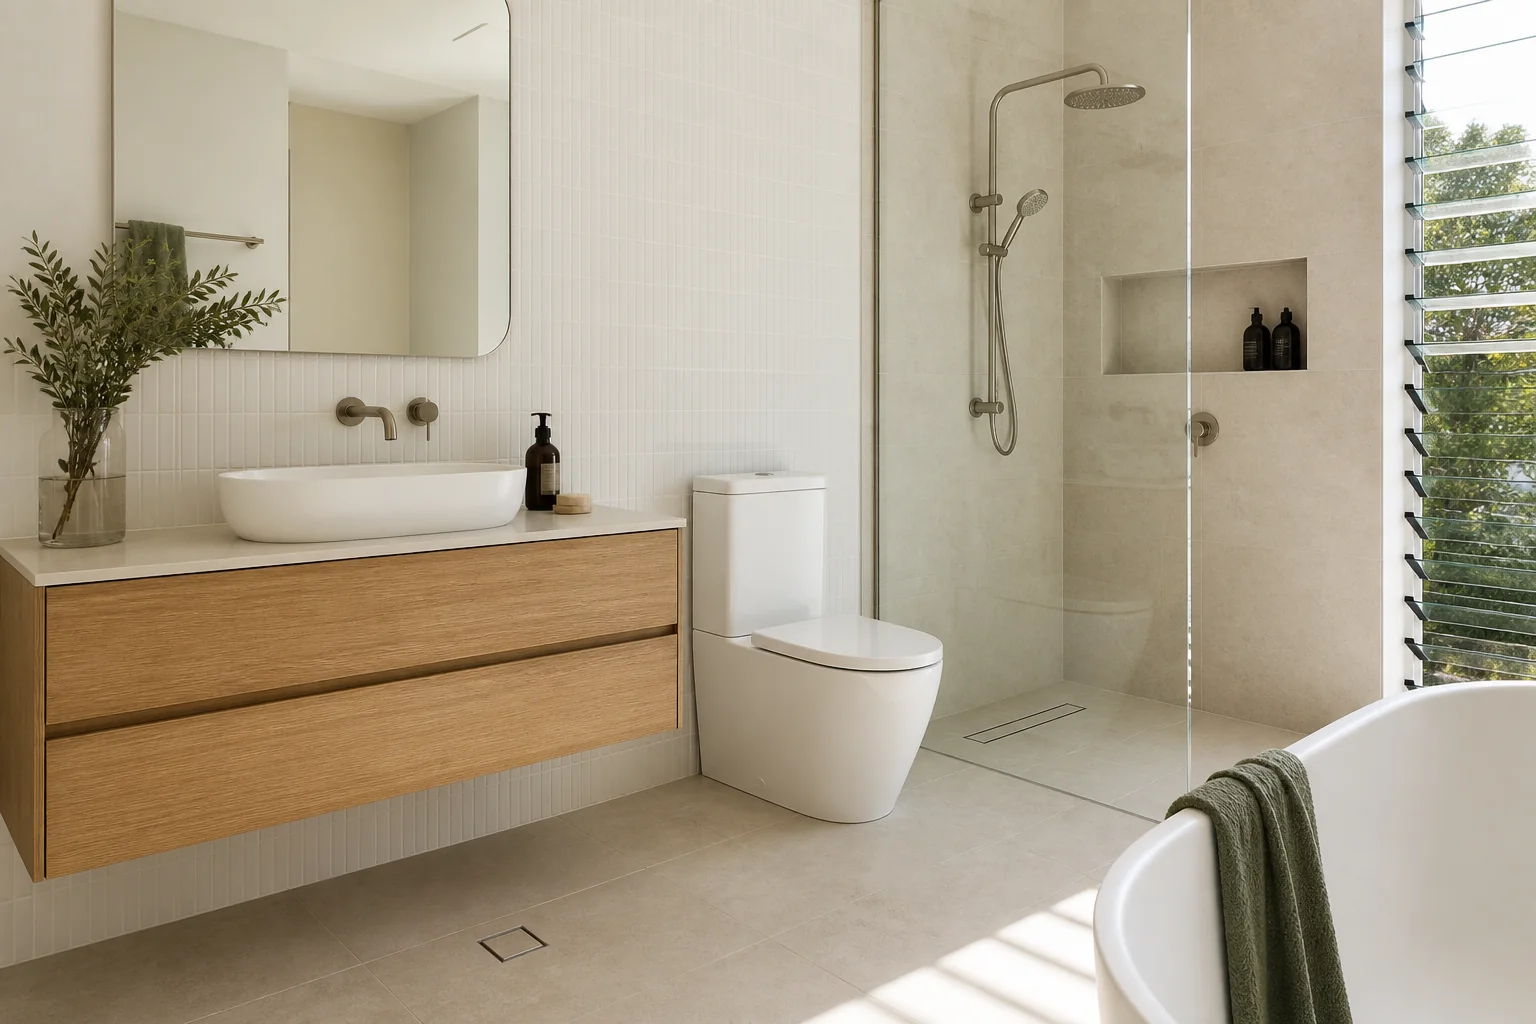
Evaluate bathroom fixtures, toilets and sanitaryware australian selection guide for Australian projects by checking intended use, product evidence, dimensions.
2026-09-18