To calculate how many tiles you need, measure each surface in metres, multiply length by width, add an allowance based on the approved layout, then divide by the square metres covered by one carton and round up. Use the coverage printed for the exact product; nominal tile dimensions alone may not match the quantity sold per box.
Surface area (m²) = length (m) × width (m).
Adjusted order area = surface area × (1 + agreed waste percentage).
Cartons required = adjusted order area ÷ coverage per carton, rounded up to the next whole carton.
Bunnings Australia’s measuring guide uses length multiplied by width and presents 15% as a general allowance for cuts, waste and breaks. Treat that figure as a retailer rule of thumb, not a universal project requirement. A simple grid in a square room may differ from a diagonal pattern, stairs, niches or a product with substantial variation.
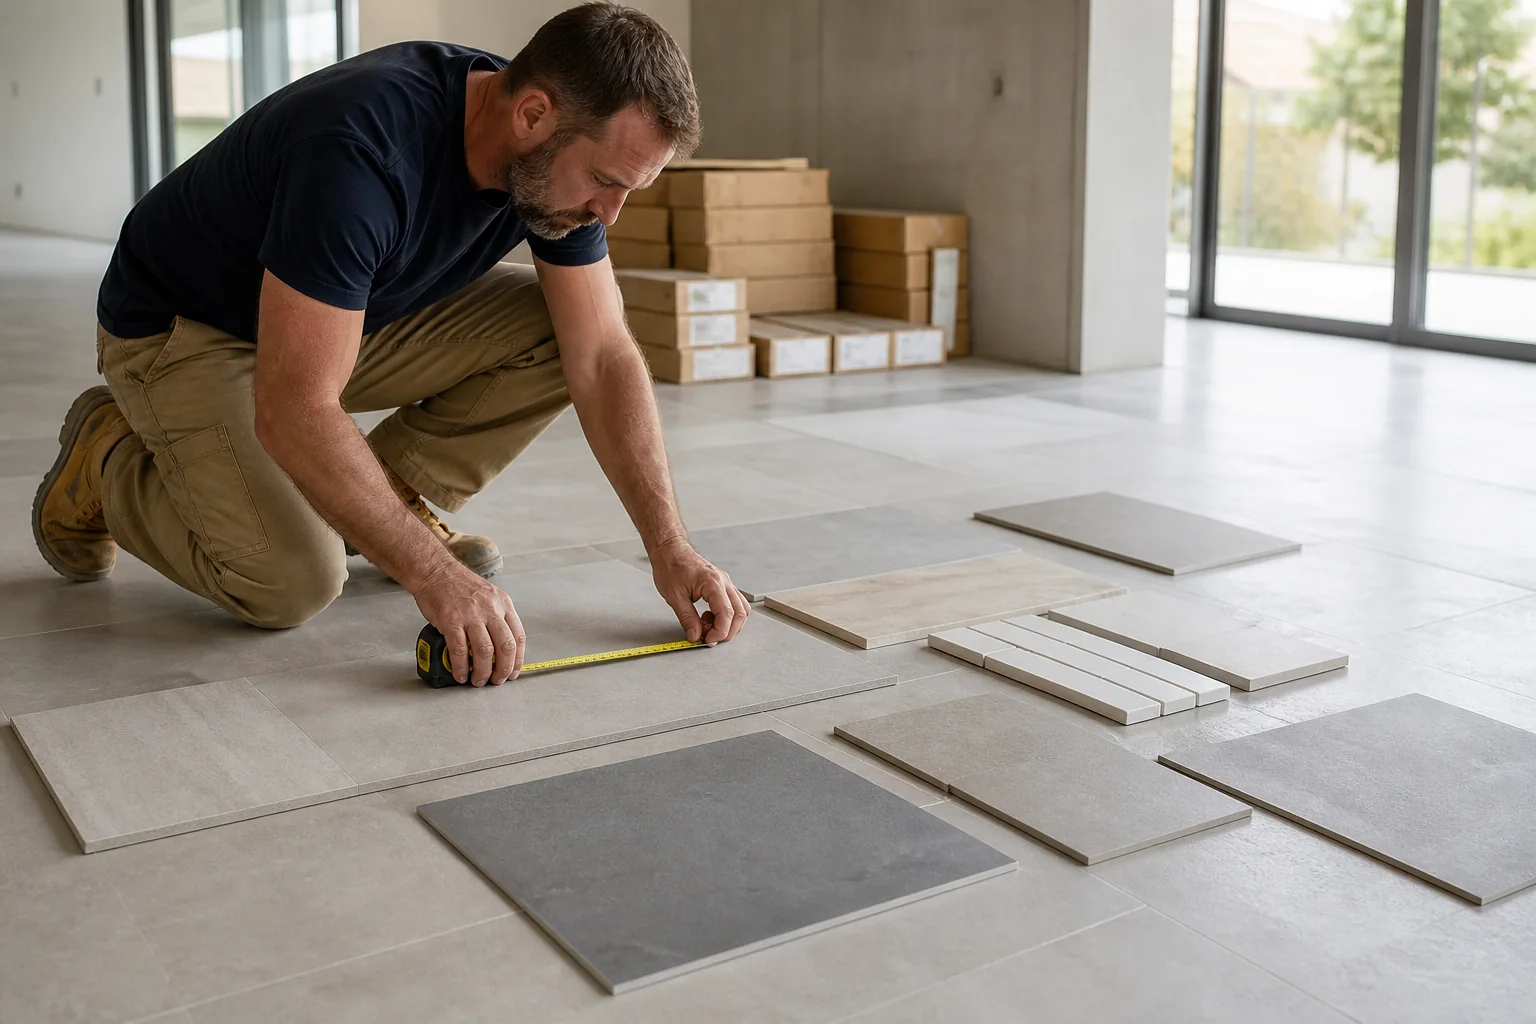
A rectangular floor measures 3.6 m × 2.4 m:
The 10% allowance is an example assumption. Confirm the final layout, cuts, spare requirement and supplier guidance before ordering.
| Nominal format | Typical design effect | Planning points |
|---|---|---|
| 100 × 100 mm and smaller | Detailed grids, curves and falls | More grout, sheets or backing, higher setting-out effort |
| 200 × 200 to 300 × 300 mm | Compact modular floor or wall layout | Check room proportions, drain cuts and joint alignment |
| 300 × 600 mm | Common rectangular wall and floor proportion | Orientation, stagger limit, lippage and substrate flatness |
| 600 × 600 mm | Broad grid with fewer joints | Handling, cuts, flatness, doorway transitions and falls |
| 600 × 1200 mm and larger | Continuous large-format appearance | Access, weight, lifting, specialised cutting and approved support |
| Mosaic sheets | Small-module appearance with sheet installation | Sheet joints, backing, adhesive coverage and grout quantity |
Some keyword lists and imported catalogues use inch dimensions. One inch equals exactly 25.4 mm, so common nominal conversions include:
| Imperial description | Mathematical conversion | Practical note |
|---|---|---|
| 8 × 10 in | 203.2 × 254 mm | May be marketed under a rounded nominal metric size |
| 12 × 18 in | 304.8 × 457.2 mm | Verify the actual manufacturer’s dimension |
| 16 × 16 in | 406.4 × 406.4 mm | Do not assume interchangeability with 400 × 400 mm |
| 24 × 24 in | 609.6 × 609.6 mm | Not necessarily the same as a 600 × 600 mm product |
For an L-shaped floor, divide the plan into rectangles and add their areas. For walls, measure each wall to the intended tile height. Calculate returns, bath panels, nibs, niches and reveals separately. Subtract large openings only when the approved layout shows they materially reduce the order; small openings often create extra cuts rather than useful savings.
Wet areas may use different tile heights or materials in showers, behind baths and at vanities. Keep each zone separate in the quantity schedule so the right carton coverage is applied.
A product described as 600 × 600 mm may have an actual manufactured dimension intended to work with a joint. Calibre variation, rectified edges and modular coordination affect layout. Use the technical data and samples rather than scaling a drawing from the marketing name alone.
Do not subtract grout-joint area as a way to reduce the order. Whole-carton rounding, cuts, variation and spare requirements matter more than the small mathematical difference created by joints.
A mathematical 600 × 600 mm tile covers 0.36 m², so 2.78 tiles equal 1 m². Products are sold as whole tiles and cartons; use the manufacturer’s actual carton coverage.
Use the approved layout to set the allowance. Pattern, cuts, room shape, breakage, batch availability and spare needs can move it above or below a general rule of thumb.
Large openings can be deducted, but reveals and cuts must be added. Small openings may not reduce the order because surrounding cuts create waste.
Nominal and actual tile sizes, grout modules and the number of tiles per carton can differ. Use the coverage printed for the exact product.
Keep enough for realistic future repairs, considering tile size, vulnerable locations and replacement availability. Retain the product and batch labels.
For a coordinated material enquiry, send dimensioned plans, wall elevations, selected formats, layout direction, calculated areas, destination and programme through the Forge contact page.
Evidence boundary: Calculations are general examples. Verify site dimensions, carton coverage, layout, allowance and installation requirements before ordering.
Calculate tile area, carton coverage, waste and spare quantities, then compare common tile sizes, layouts, cuts, grout joints and delivery constraints.
2026-08-30
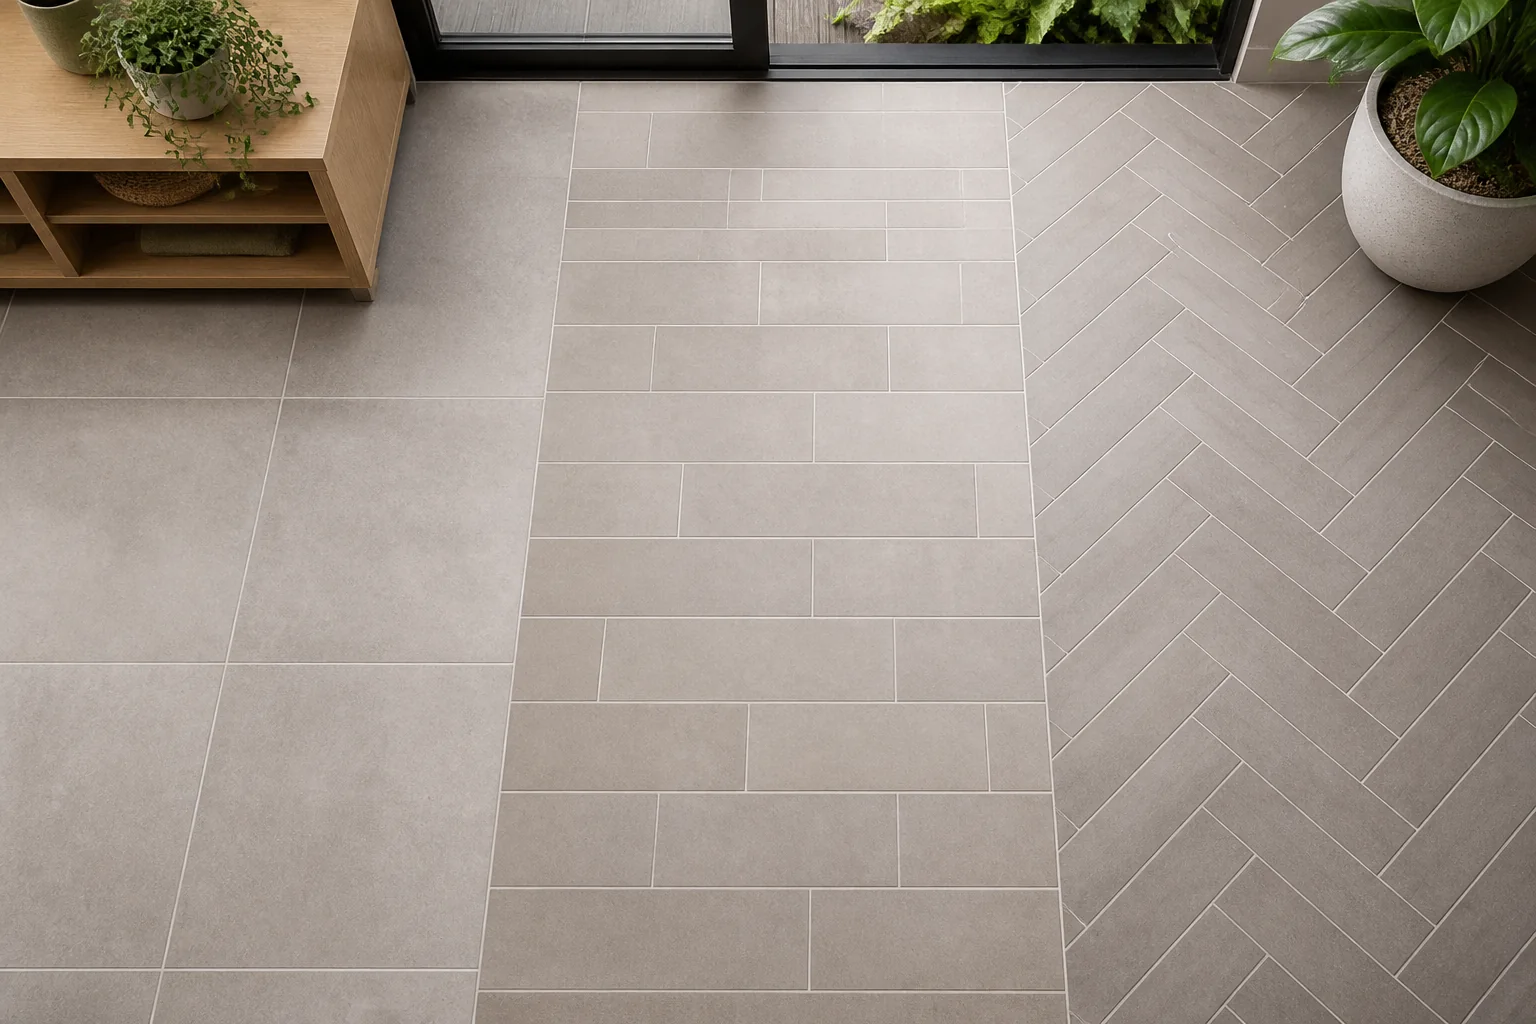
Choose tile layout patterns by comparing room geometry, cuts, waste, grout, transitions, substrate and the finished visual direction.
2026-09-03
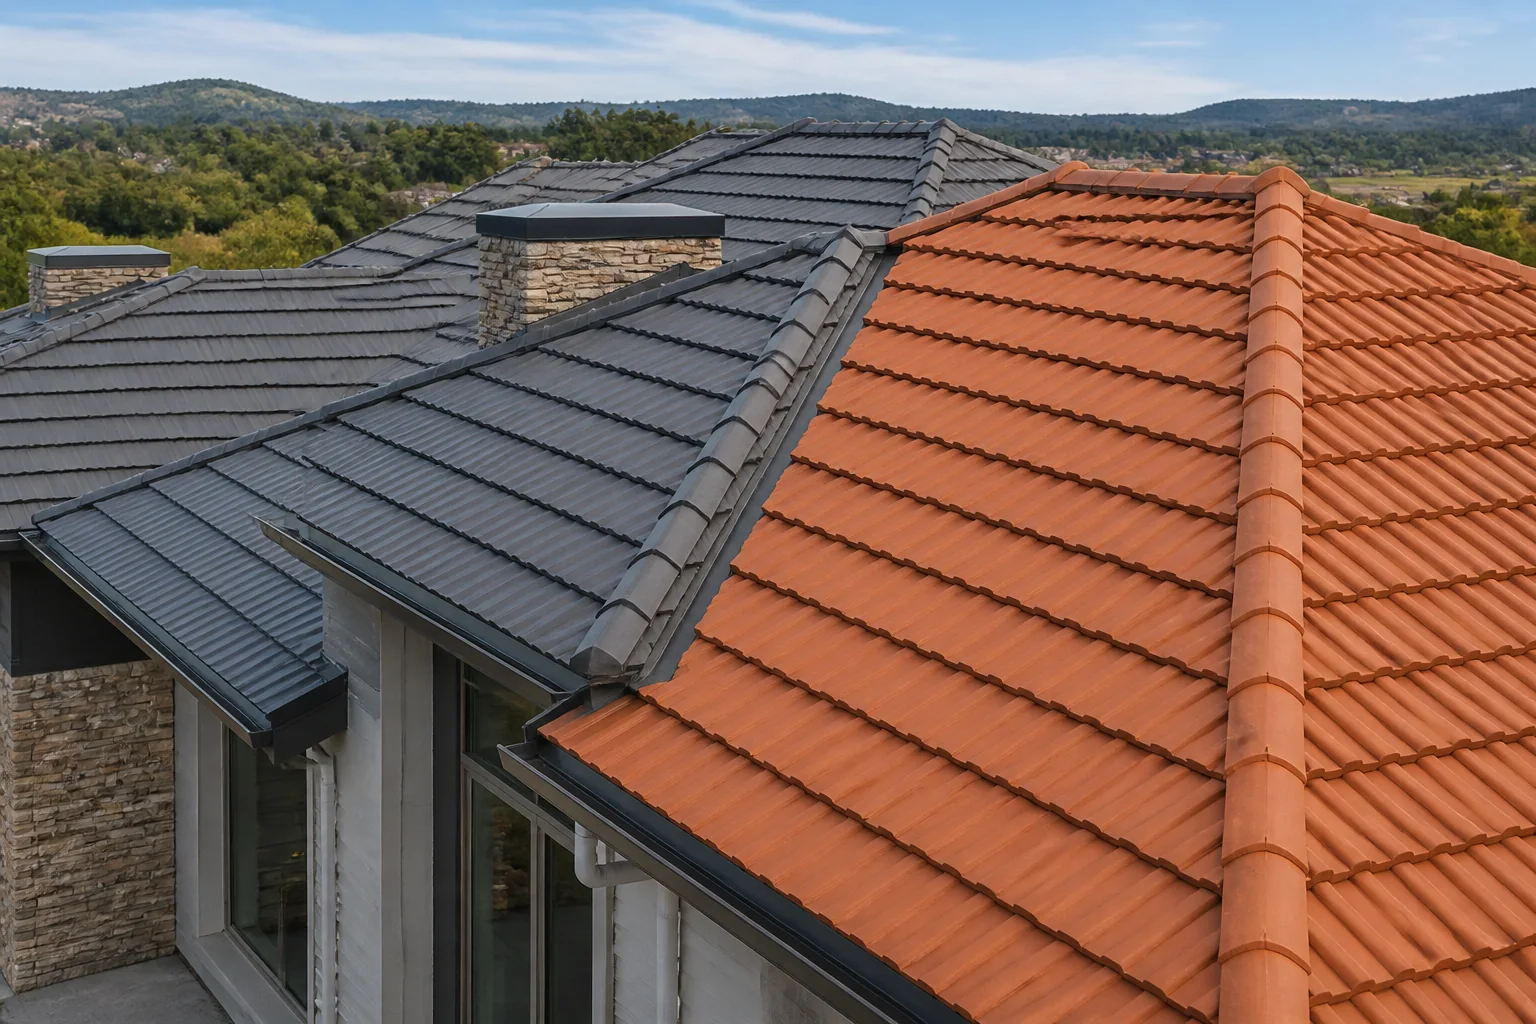
Choose roof tiles by comparing material, colour, pitch, weight, flashing, drainage, weather exposure and replacement responsibilities.
2026-09-07
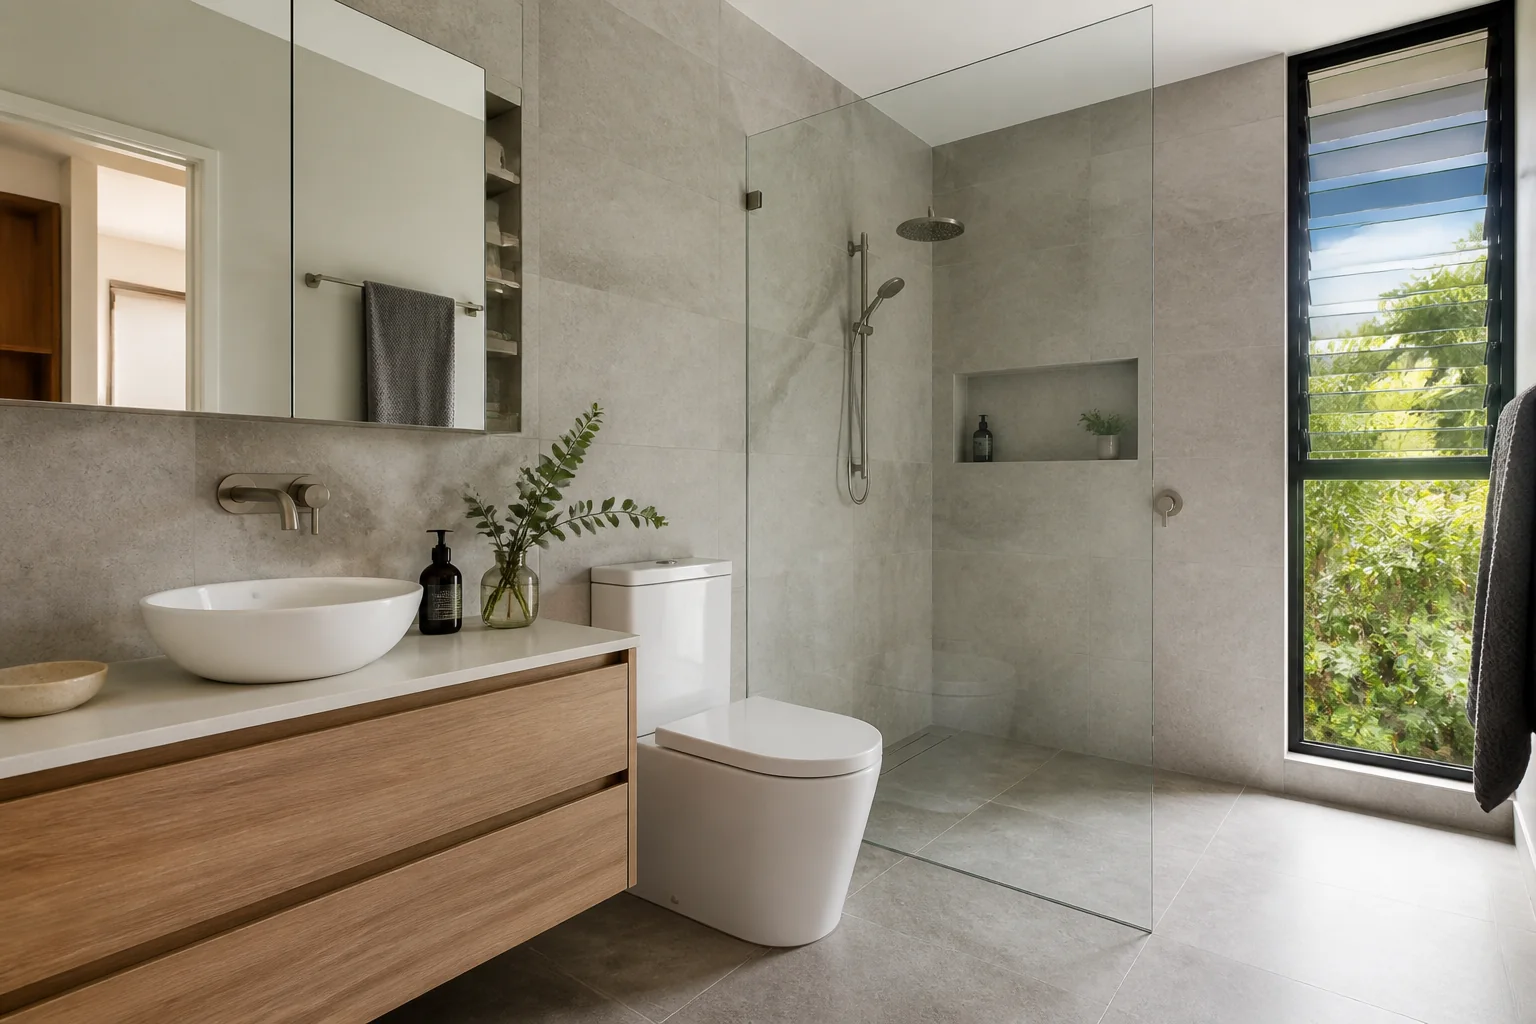
Review Englefield bathroom products by exact model, dimensions, set-out, WELS information, Australian availability, installation and warranty evidence.
2026-09-11
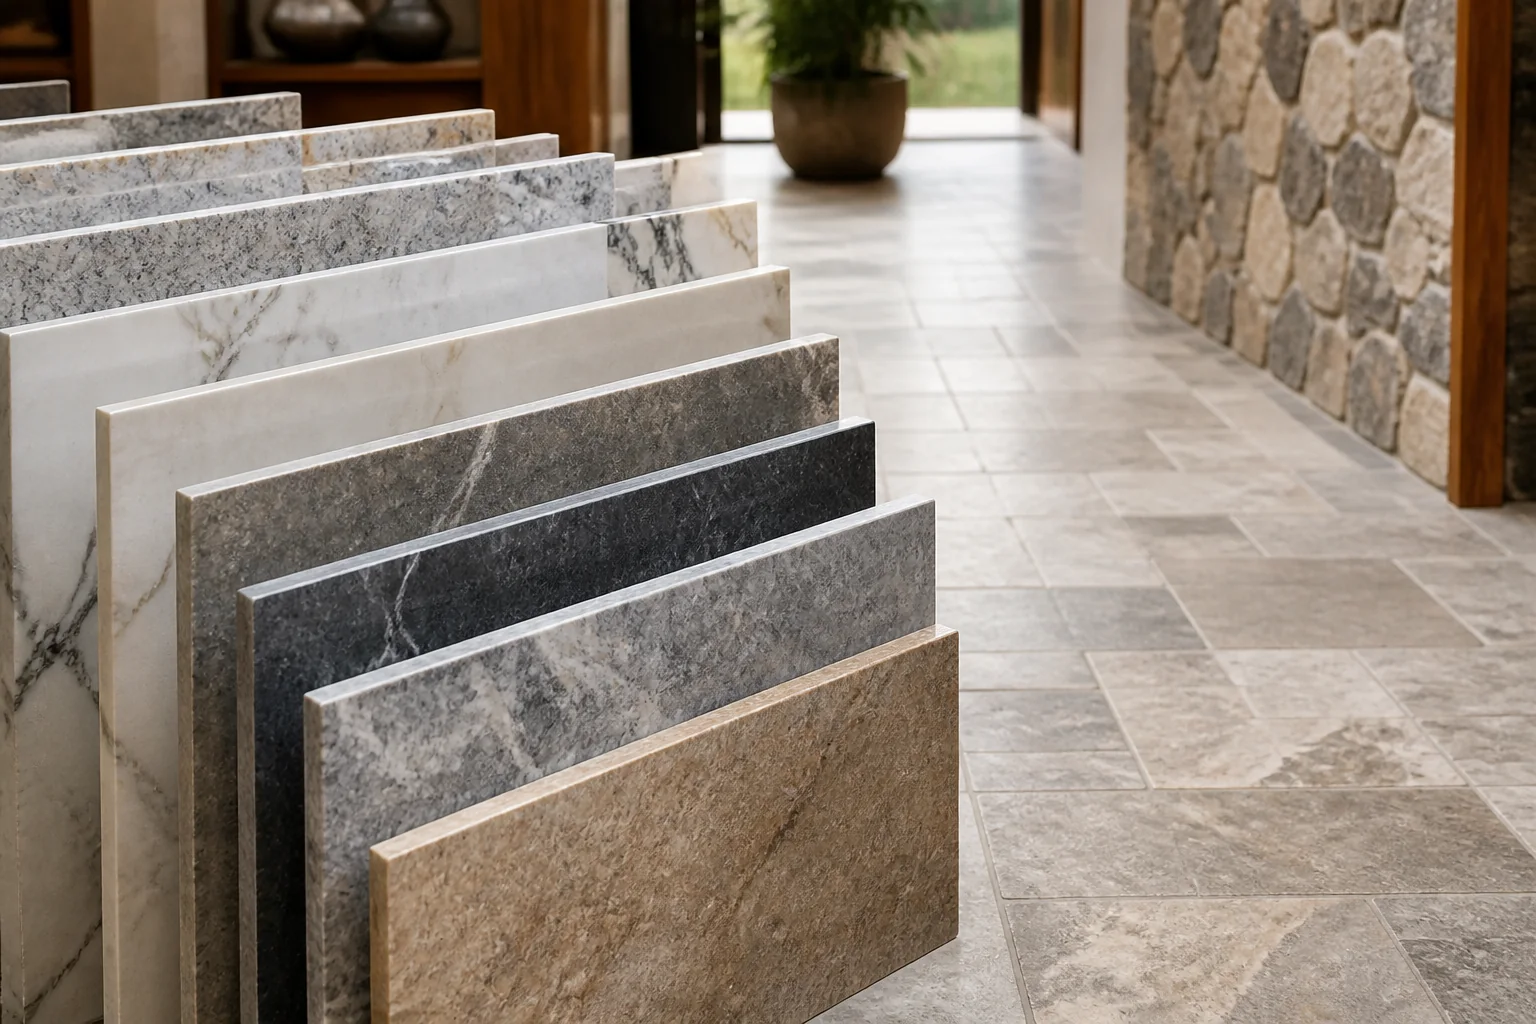
Plan granite, marble and stone tile design around finish, variation, layout, support, sealing, cleaning and the room interfaces.
2026-09-15
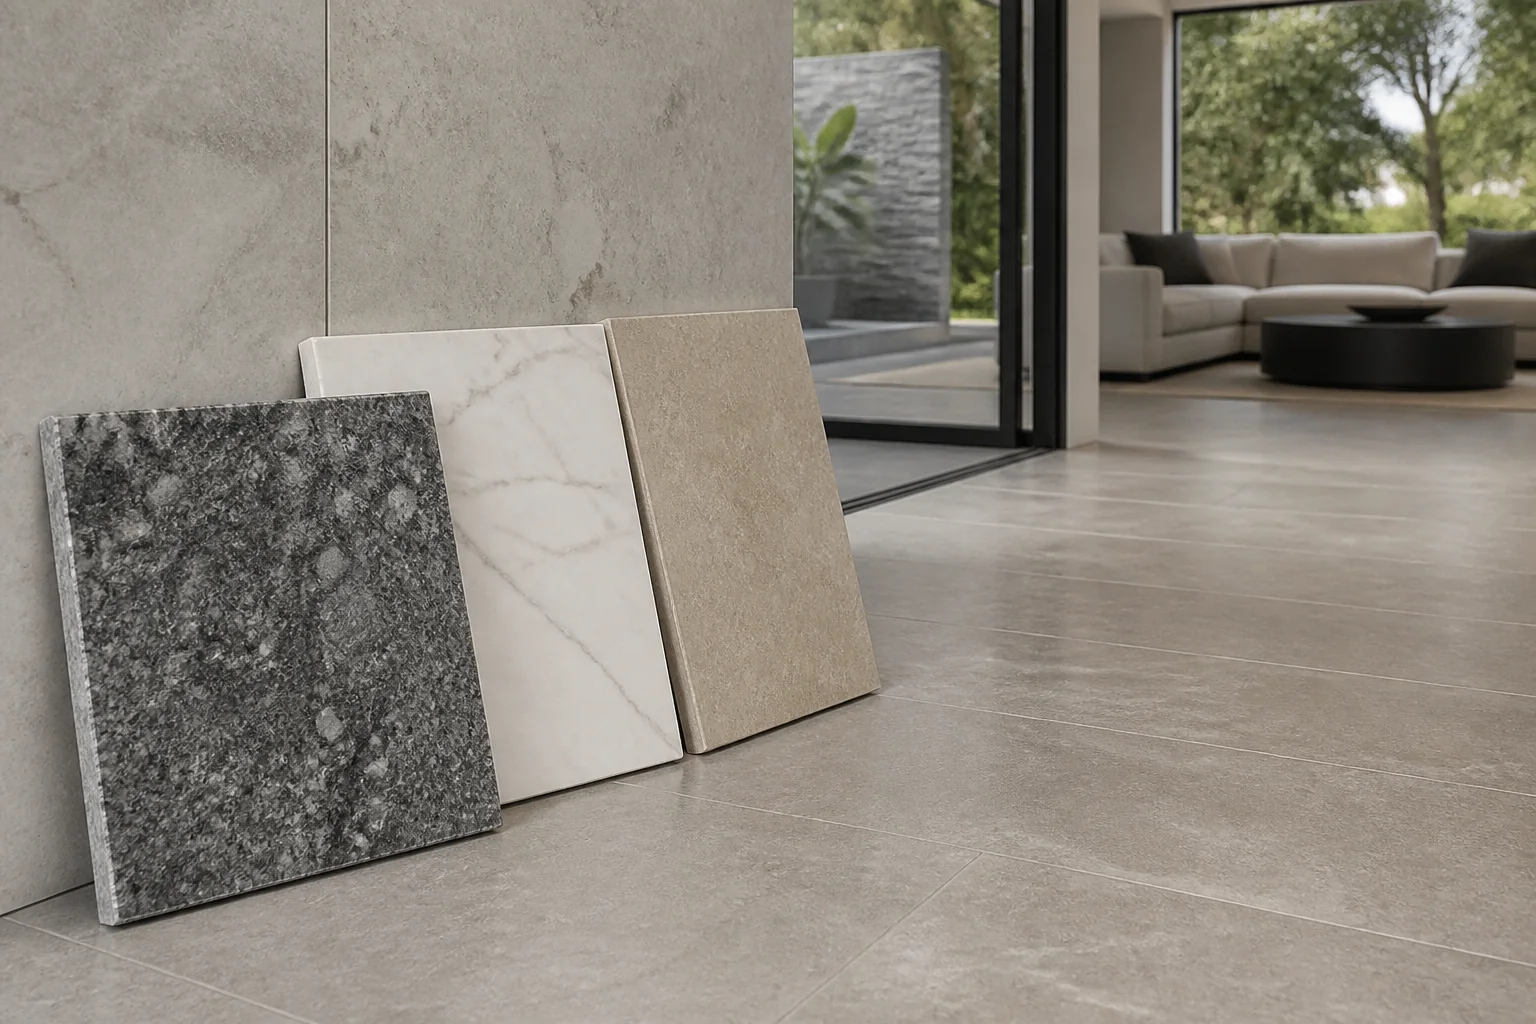
Select granite, marble and stone tiles by comparing material, finish, variation, layout, support, sealing, cleaning and repair.
2026-09-19